
Follow the steps below to install XPNavData and update the AIRAC cycle for X-Plane 12, X-Plane 11 and XPFlightPlanner.
Installation
- Close X-Plane and XPFlightPlanner before replacing navigation data.
- Locate your X-Plane installation folder. Typical locations are:
- Windows:
C:\X-Plane 12\ - macOS:
~/Desktop/X-Plane 12/ - Linux:
~/X-Plane 12/ - If you installed X-Plane with Steam, see the Steam section below.
- Windows:
- Open the Custom Data folder:
<X-Plane>/Custom Data - Delete all files and folders inside it. Do not delete the
Custom Datafolder itself. - Copy the downloaded archive
AIRAC-2608-XP12.zipinto theCustom Datafolder. - Extract the ZIP archive directly into the
Custom Datafolder Extract here. - After extraction, the
Custom Datafolder should contain files and folders directly at this level:
<X-Plane>/Custom Data/
├── earth_fix.dat
├── earth_awy.dat
├── earth_nav.dat
├── earth_hold.dat
├── earth_msa.dat
├── earth_mora.dat
├── ...
├── airspaces/
└── CIFP/
Import in XPFlightPlanner
Start XPFlightPlanner and open the Database Dialog from the Edit menu to import the newly installed database. Make sure the Use Custom Data checkbox is activated.
For detailed instructions, see the Using a Custom Navigation Database section of the user manual.
Use in X-Plane
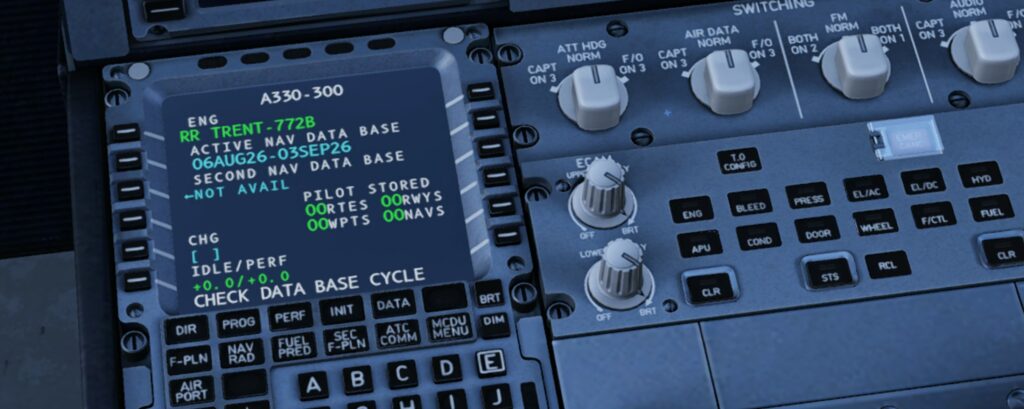
Start X-Plane. The new AIRAC cycle will be detected automatically.
X-Plane installed with Steam
If you installed X-Plane with Steam, use Steam to locate the installation folder:
- Open Steam.
- In your Library, right-click X-Plane and select Properties.
- Open the Installed Files section.
- Click Browse to open the X-Plane installation folder.
- From that folder, open Custom Data and continue with the installation steps above.