
Keep your X-Plane navigation database and XPFlightPlanner up to date with the latest AIRAC cycle. Installing XPNavData takes only a few minutes and is fully compatible with both X-Plane 12 and X-Plane 11.
Important
XPNavData is licensed for personal, non-commercial flight simulation only. It must not be used for real-world aviation, flight planning, or navigation. Please refer to LICENSE.txt and COPYING.txt included with your download for the complete license terms.
Before you begin
Before installing a new AIRAC cycle:
- Close X-Plane
- Close XPFlightPlanner
- It is strongly recommended to back up your existing Custom Data folder.
Installation
1. Locate your X-Plane installation
Typical installation locations are:
| Operating System | Default Location |
|---|---|
| Windows | C:\X-Plane 12\ |
| macOS | ~/Desktop/X-Plane 12/ |
| Linux | ~/X-Plane 12/ |
If you selected a custom installation directory, simply locate your X-Plane folder instead. If your simulator was installed through Steam, see the Steam Installation section below.
2. Delete the previous custom AIRAC
Navigate to: <X-Plane>/Custom Data and delete all files and folders inside Custom Data.
Do not delete the Custom Data folder itself.
3. Copy the downloaded archive
Copy the downloaded ZIP archive into the Custom Data folder.
Example:
<X-Plane>/Custom Data/AIRAC-2608-XP12.zip4. Extract the archive
Extract the ZIP archive directly into the Custom Data folder, use “Extract Here”. If your extraction software asks whether existing files should be replaced, choose: Replace Existing Files
After extraction, your Custom Data folder should contain files similar to:
<X-Plane>/Custom Data/
├── earth_fix.dat
├── earth_awy.dat
├── earth_nav.dat
├── earth_hold.dat
├── earth_msa.dat
├── earth_mora.dat
├── ...
├── airspaces/
└── CIFP/
Depending on the AIRAC cycle, additional navigation database files may also be present.
Using XPNavData in XPFlightPlanner
To use the updated navigation database inside XPFlightPlanner:
- Launch XPFlightPlanner
- Open Edit → Database Dialog
- Check the
<X-Plane>path is correct - Enable Use Custom Data
- Import the newly installed database
For detailed instructions, see the Using a Custom Navigation Database section of the user manual.
XPFlightPlanner will then use the updated AIRAC cycle for flight planning and route generation.
Using XPNavData in X-Plane
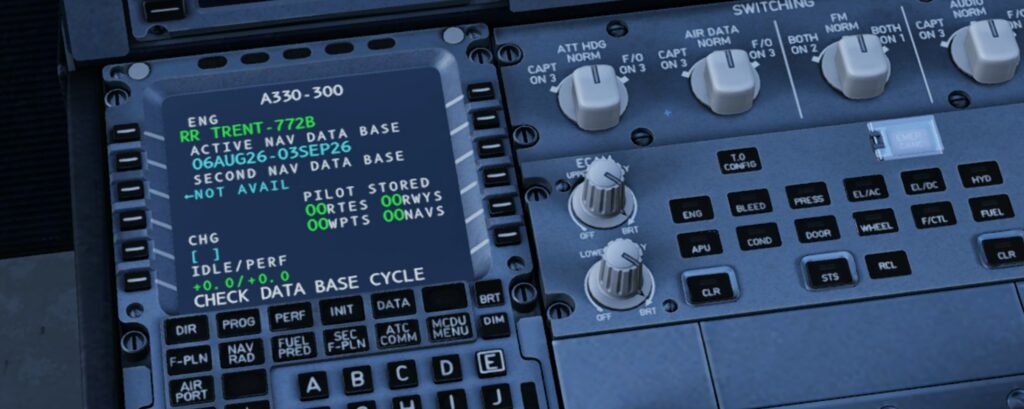
Simply start X-Plane. The simulator automatically detects the updated AIRAC cycle during startup.
No additional configuration is required.
Steam Installation
If X-Plane was installed using Steam:
- Open Steam
- Go to your Library
- Right-click X-Plane
- Select Properties
- Open Installed Files
- Click Browse
Steam will open your X-Plane installation folder.
Common mistakes
Do not create an extra folder
The navigation files must be extracted directly into the Custom Data folder.
Incorrect: <X-Plane>/Custom Data/AIRAC-2608-XP12/
Keep a backup
Always keep a backup of your previous Custom Data folder before installing a new AIRAC cycle.