Requirements
XPFlightPlanner can be installed on Microsoft Windows and Apple macOS, it requires either:
- Microsoft Windows (10+) on an Intel/AMD 64 bit computer
- Apple macOS (12+) on an Apple Silicon (M1, M2) or Intel Mac (Universal Binary)
- Ubuntu (22.04+) on Intel/AMD 64 bit (x86_64)
Installer files can be downloaded from our download page.
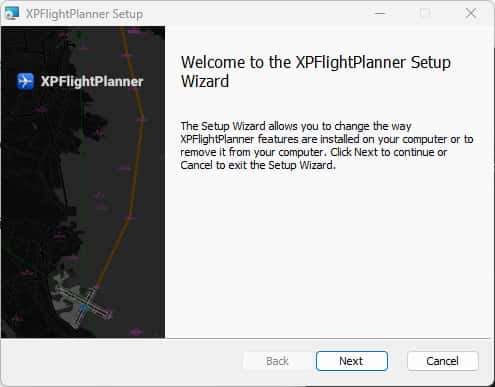
Installation on Windows
To install XPFlightPlanner on Microsoft Windows, simply follow these steps:
- Download the
msiinstaller - Execute the installer and follow instructions
- Launch XPFlightPlanner from the Start menu
By default XPFlightPlanner is installed in C:\Program Files\XPFlightPlanner.
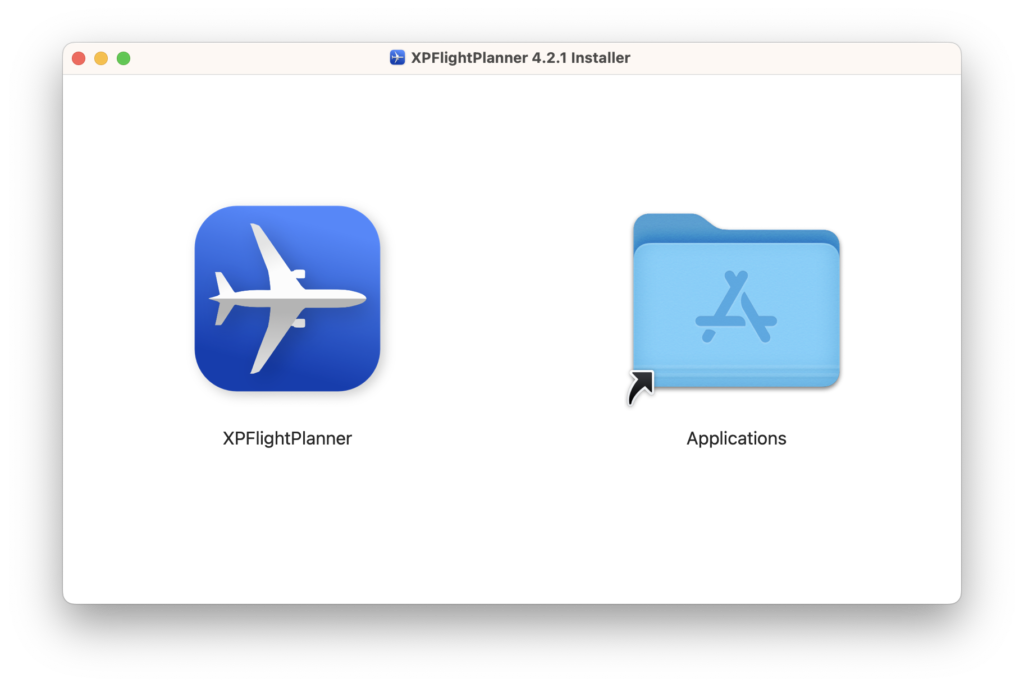
Installation on Mac
To install XPFlightPlanner on Apple macOS, simply follow these steps:
- Download the image file (dmg)
- Open the image file and copy XPFlightPlanner to /Applications folder
- Eject the disk image and launch XPFlightPlanner by double clicking on it
Installation on Ubuntu Linux
To install XPFlightPlanner on Ubuntu Linux, simply follow these steps:
- Install
libfuse2withsudo apt install libfuse2 - Download and extract the tarball file (tgz)
- Double click on the
AppImagefile to launch XPFlightPlanner
Uninstall
Windows
To uninstall XPFlightPlanner on Windows using the standard method, follow these simple steps:
- First, navigate to the “Control Panel” from the Windows Start menu. Once in the Control Panel, locate the “Programs” or “Programs and Features” option.
- Click on it to open the list of installed programs on your computer. Look for XPFlightPlanner in the list and select it.
- Then, click on the “Uninstall” or “Remove” button that appears. Follow any prompts or instructions that may appear during the uninstallation process.
Once completed, XPFlightPlanner will be successfully uninstalled from your Windows system.
macOS
To uninstall XPFlightPlanner on a Mac, follow these steps:
- First, open the Finder by clicking on the Finder icon in the Dock. In the Finder menu, click on “Applications” to access the list of installed applications.
- Locate XPFlightPlanner in the list of applications and drag it to the Trash icon in the Dock. Alternatively, you can right-click on XPFlightPlanner and select “Move to Trash” from the context menu.
- Once you’ve moved XPFlightPlanner to the Trash, right-click on the Trash icon and choose “Empty Trash” to permanently delete the application from your Mac.
Please note that this action cannot be undone, so make sure you have no further need for XPFlightPlanner before emptying the Trash.
Linux
To uninstall XPFlightPlanner on Linux, simply delete the AppImage file.